Author Emily Lowrey
Understanding the Lightroom HSL sliders for beginners is such a powerful asset for photographers. It is a beginner-friendly photo editing software and more than powerful enough for professionals.
There are so many great tools at our disposal, but one of the most powerful has to be the HSL sliders, or the Hue, Saturation, and Luminance sliders.
Here is an overview, and there is an in-depth video at the end of this article to walk you through it all.
iPhotography offer a full, in-depth, beginner’s course on Lightroom, so if you find this article intriguing, definitely check out the full course!
This one panel is incredibly powerful. You can change every single colour however you like, in isolation. This means if you want to change the colour of the sky, you can do so without affecting anything else in the image.
Learning about colour, and which tones and shade you like best, will help you to develop your own unique style.
The Hue sliders manipulate the standard colours in your image. For instance, you can push the blues in the sky to look more teal, by sliding blue to the left. You can make the blues in the image look more purple by moving the blue slider to the right.
The hue slider is a great way to dramatically change your image in Lightroom, even if you’re a beginner.
Below, we can see (left to right): extreme left, the original image, extreme right, and a pleasing manipulation of the blue hues.
As with most types of photo editing… less is more! Often tweaking colours slightly can have very effective results when using Lightroom for beginners.
Image by Emily Lowrey
Using the blue slider as an example once more, we can see what the saturation slider does. When you boost the saturation of a colour, it becomes bold and rich. When you desaturate a colour, it is taken out entirely.
Saturation is probably the slider most beginners already know about in Lightroom.
Below we can see (left to right): blue tones desaturated (left), the original image (middle), blue tones oversaturated (right), and a pleasant manipulation of the saturation.
Image by Emily Lowrey
Luminance might be a new term for beginner photographers, but don’t worry, it is very simple to understand!
The luminance sliders make colours brighter or darker. Below we can see in the blues example (left to right): extreme left, the original, extreme right, and a pleasing manipulation of the luminance.
Once you understand what the Hue, Saturation, and Luminance sliders control you can have full creative control over your image. You can use them all together to get the best results. If you’re a beginner photographer, Lightroom is a piece of software you should definitely learn more about.
Image by Emily Lowrey
Watch the video below to learn more! You will be able to see how wonderful the HSL sliders can be for your creativity.
If you want to learn more about HSL sliders in Lightroom, check out the iPhotography Lightroom for beginners course! I’ll take you through every single slider and button in a beginner-friendly and practical way.
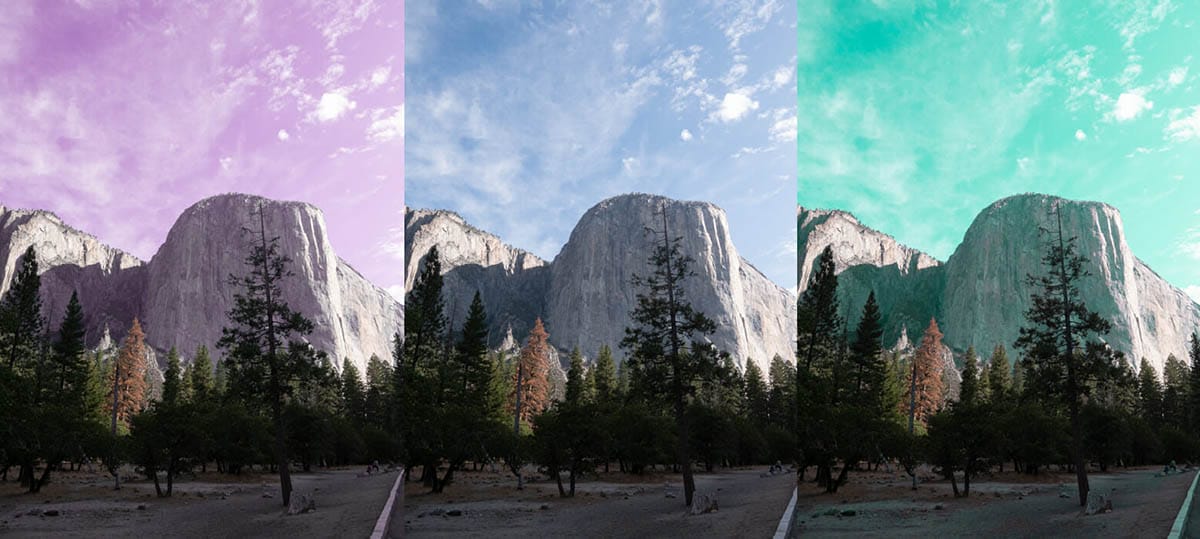
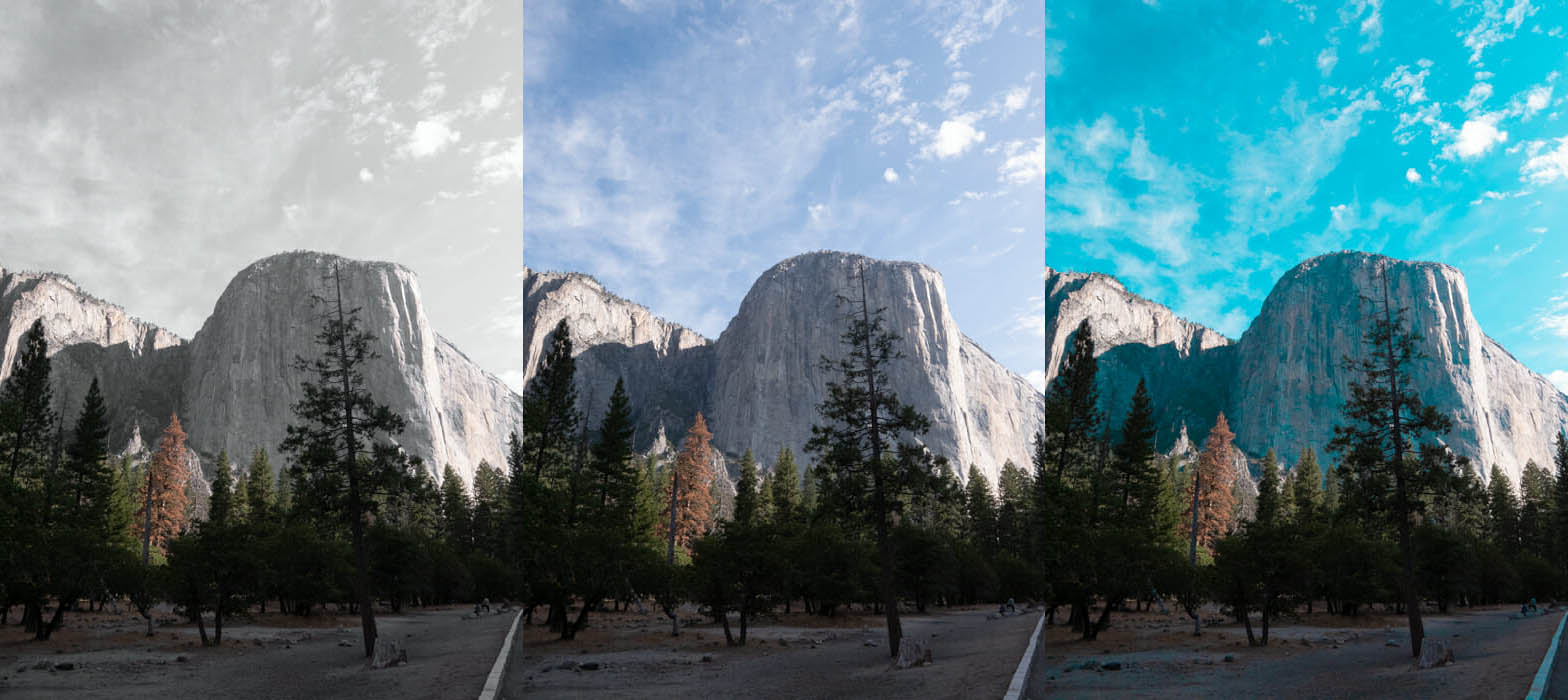
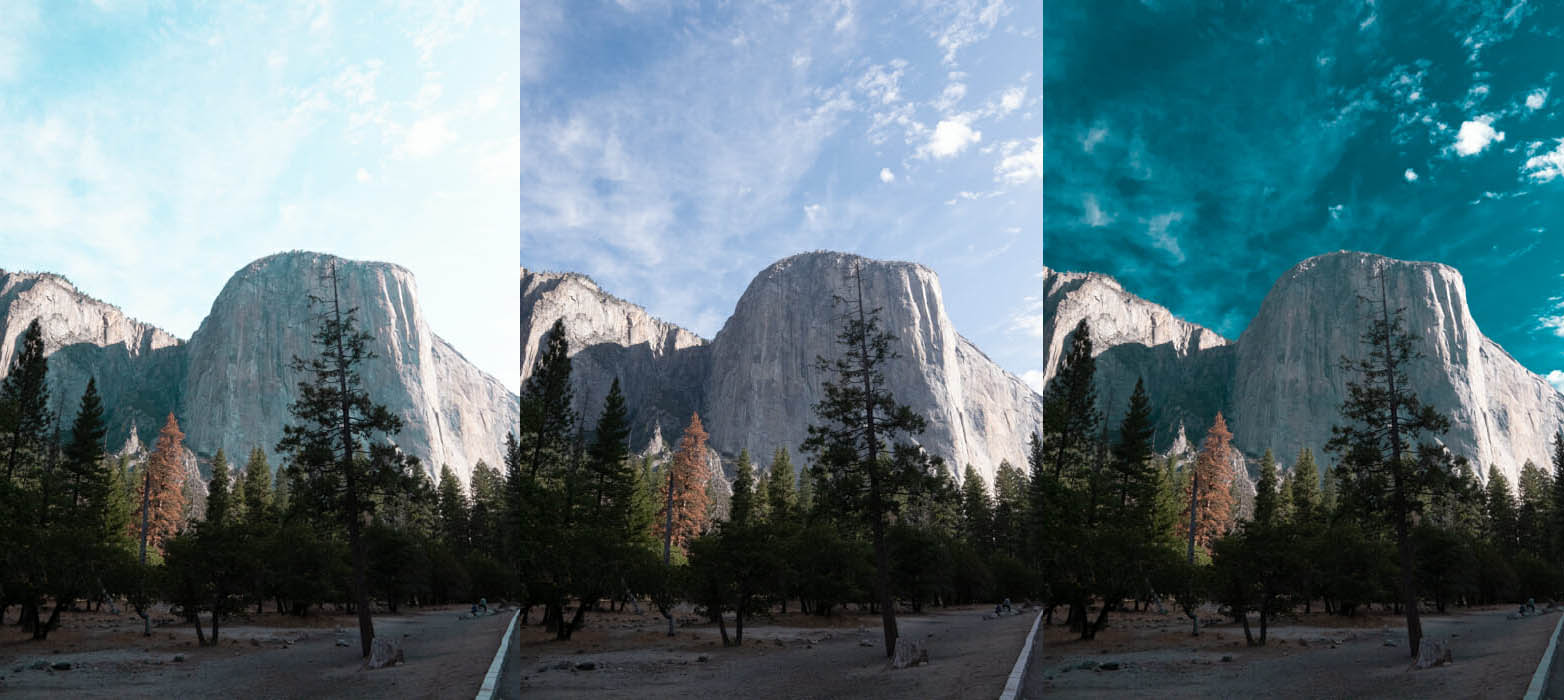
Learn all about banding, artefacts, pixelation, and moire as a photographer to help you capture and edit with the best image quality.
Learn the art of capturing stunning cityscapes with these beginner-friendly tips and techniques. Master the urban jungle through your lens!
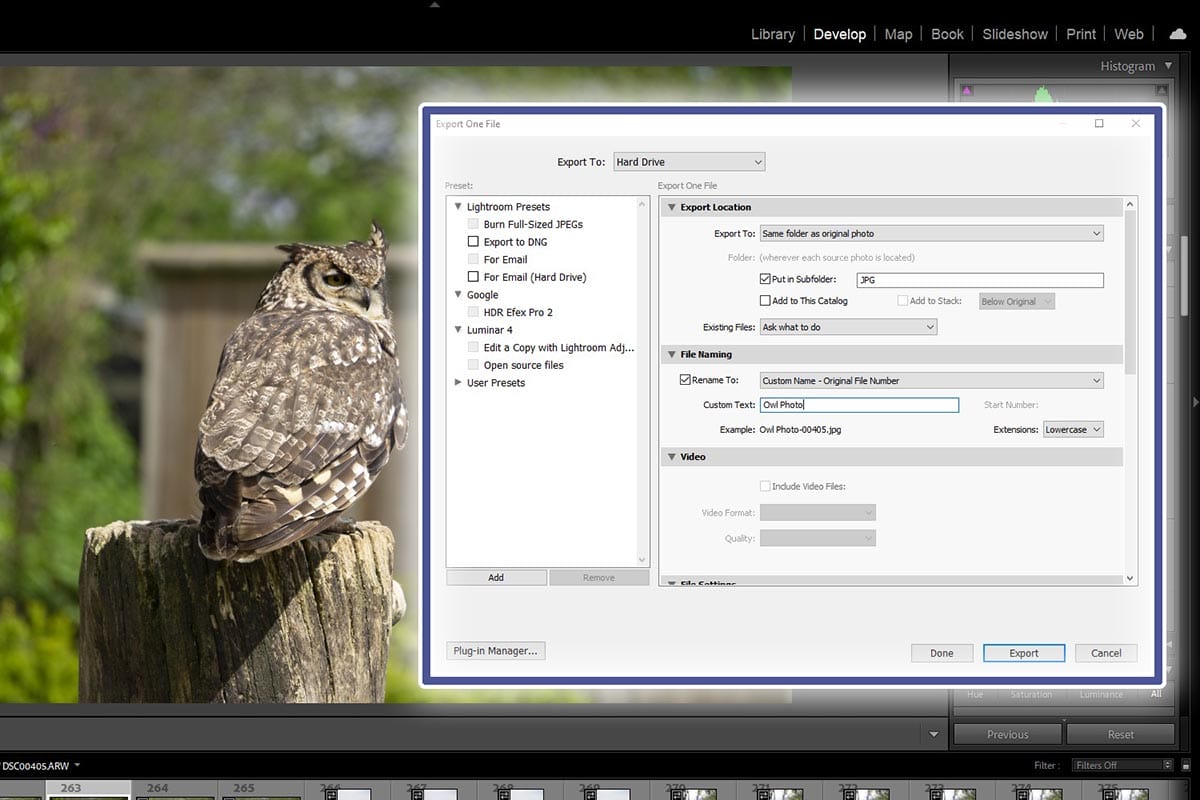
Get a breakdown of each factor of exporting to give you the best export settings for photographers using Adobe Lightroom for photographers.
© iPhotography™