At the base of a good photograph, a little war occurs – a contrast of duel elements that catch our attention. This may be seen in different ways. Creating conflict in photography is an important skill to improve for your photos to become more than a snapshot.

Keeping it short, conflict is the clash of two (or more, but in photography it’s best to keep it simple) elements that oppose the values of it’s opposite. You will see conflicts everywhere in life, and with this guide you’ll see it on a more basic level.
Contrast, as some photographers refer to it as, sets a story for a photograph that causes tension and dynamics. In the same way as a good movie or book has a good guy and villain, interesting photographs require a small war within the frame of the camera.
The best type of conflict is a naturally occurring one, but it’s fine to stage it too if you’re learning. It causes your audience to pick a side if the conflict is clearly described. Good contrast can stop someone in their tracks and makes the engage more readily.
Let’s have a look at 3 different ways that you can bring this type of tension into a photo.

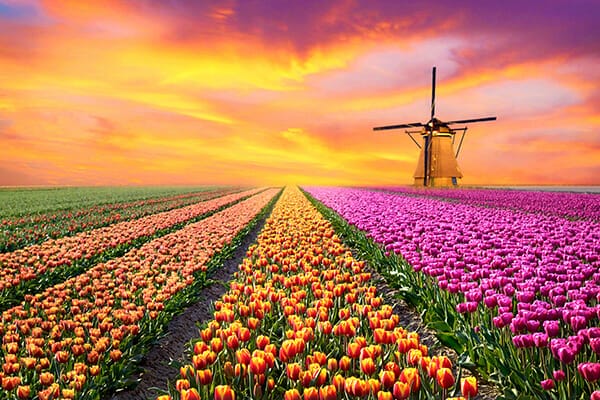
First off you need your colour wheel as this is the answer to the title of this section. All primary, secondary and tertiary colours have an opposite which is called a complementary colour. Here are a few:
If you are creating photos with bold colours then look at using the complementary ones. Imagine if you’re photographing a red rose, looking for green tones to surround it (this is really easy in nature).
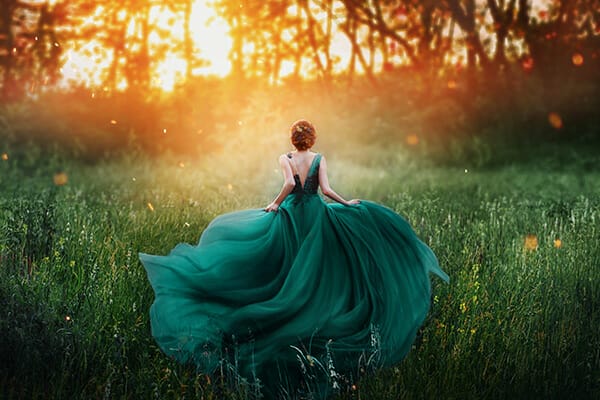
Knowing your complementary colours will help you choose the right tones for portrait photographs. Say you have a blue bedsheet you want to use as your background, then what colour should your subject wear? That’s right – Orange!
It’s possible to slightly deviate off this rule (only a little though) and make those complementing tones a little brighter or darker. So instead of wearing orange, your subject could be in yellow – the colour next to orange. It’s a close neighbour.

There are two ways to look at adding conflict in photography through shapes – either in form or size. Let’s break it down again.
Shapes can either be hard-edged (squares, triangles, rectangles etc) or soft edged (circles, ovals). Posing two objects with clear, opposing shapes, next to each other is another great example of conflict.
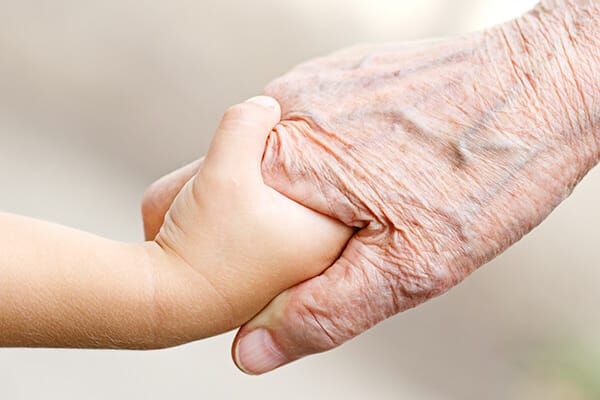
Think big against little, wide against narrow, long against short – all these contrasts in size are interesting to photograph and easily found, now you know what to look for.
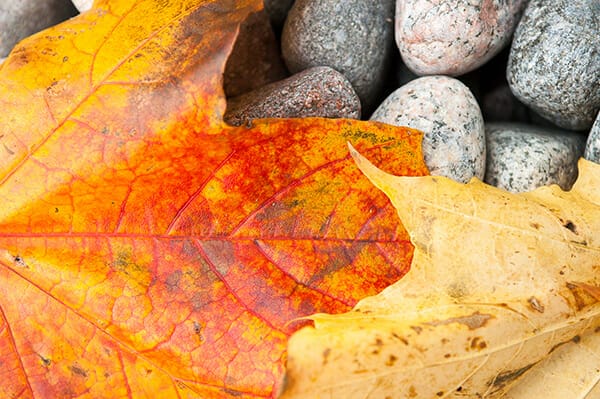
By now you’ll have an understanding where we’re going with this, but still let’s have a closer look. If you’ve not stepped into a haberdashery in a while you may not know of the range of materials and textures that you can use for contrasting elements.
Look for hard and soft textures, soft satins and dense woollens work really well against each other.
But take this same thinking outdoors and look where calm puddles of water sit on hard rocks, or snow have fallen on rough branches.

It’s such a simple thought process when shooting but it makes a big difference in your final photos. You may already have that creative eye engaged and you look at objects in terms of colour, shape or texture which is fantastic.
But if not, hopefully this guide has helped you see the basic elements needed to take your photography from snapshots to artwork.
Learn all about banding, artefacts, pixelation, and moire as a photographer to help you capture and edit with the best image quality.
Learn the art of capturing stunning cityscapes with these beginner-friendly tips and techniques. Master the urban jungle through your lens!
Get a breakdown of each factor of exporting to give you the best export settings for photographers using Adobe Lightroom for photographers.

© iPhotography™